How to use a Voice Recognition Module
Voice commands
Introduction
In this tutorial you will learn how to use a voice recognition - serial - module with the Arduino uno board. This module can store up to 15 voice commands. Those are divided into 3 groups, with 5 commands in each group. First we should train the module with voice instructions group by group. After that, we should import one group before it could recognize the 5 voice instructions within that group.
|
If we need to implement instructions in other groups, we should import the group first.
In this tutorial we will use an RGB LED and we will try to change the color of it with voice commands.
In this tutorial we will use an RGB LED and we will try to change the color of it with voice commands.
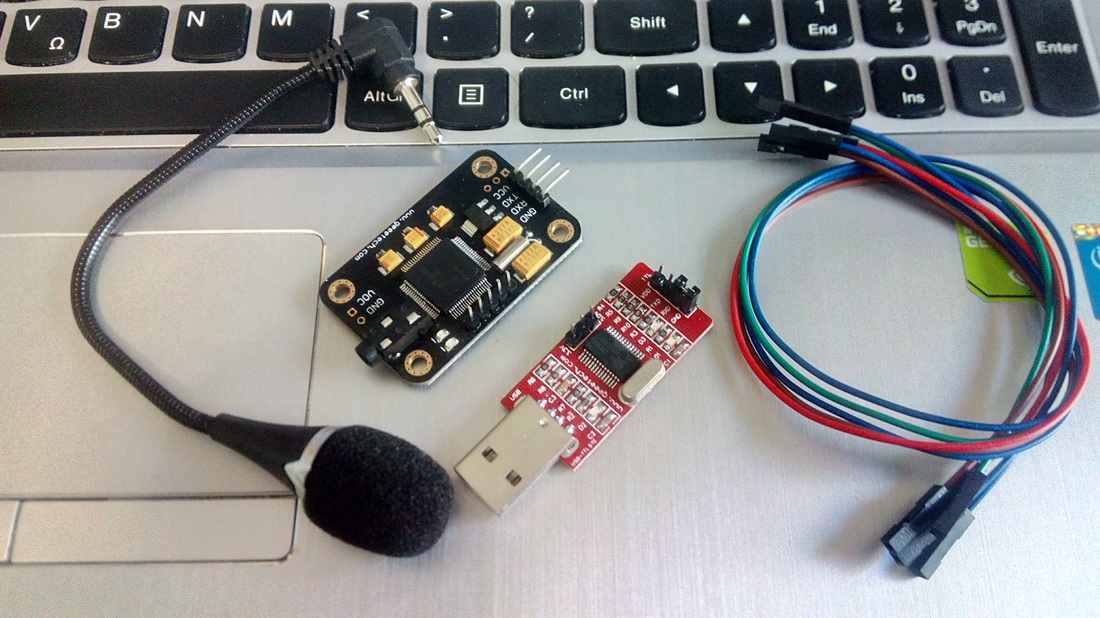 |
What you will need - Hardware
For this tutorial you will need:
Recording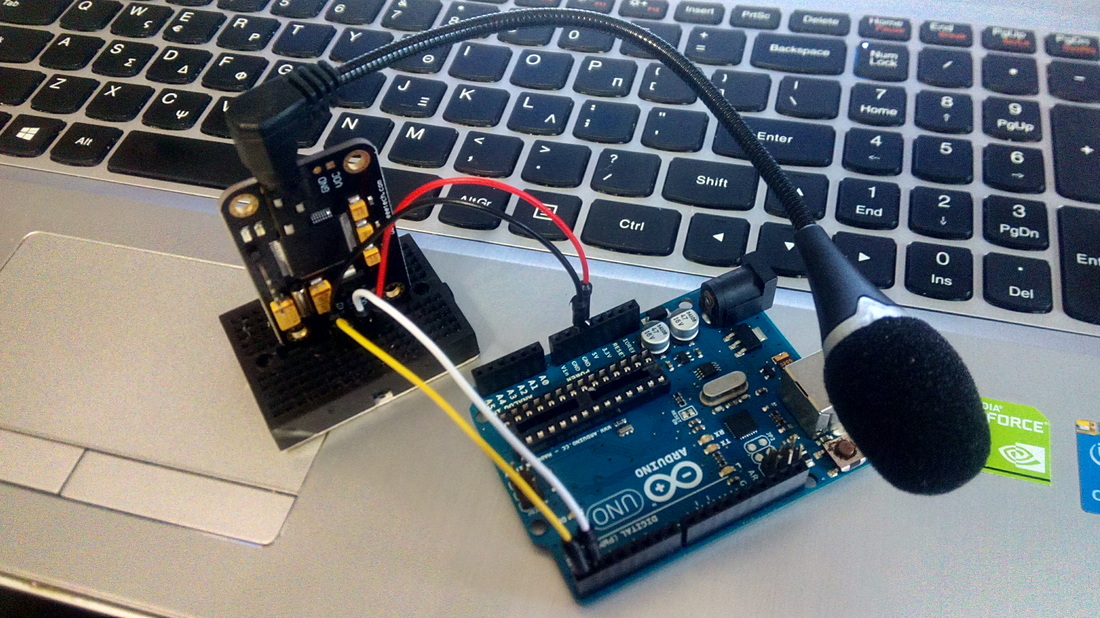
The first thing that we have to do is to record voice instructions/commands. Each voice instruction has the maximum length of 1300ms (1.3sec), which ensures that most words can be recorded. Once you start recording, you can’t stop the recording process until you finish all the 5 voice instructions/commands of one group. Also, once you start recording, the previous content of that group will be erased.
Download and extract AccessPort from here. This tool will allow us to send HEX commands to the voice recognition module. Connection between Arduino* and module for recording procedure: *You must remove ATmega328p from board or program it with blink example. If you want you can also use one usb to serial board to complete this procedure. Available commands:
Let's get started with our voice commands!
If you having troubles with this, try to read this manual. When recording is completed type and send AA 21.
Disconnect the voice recognition module from the Arduino uno board and proceed to next step. The Circuit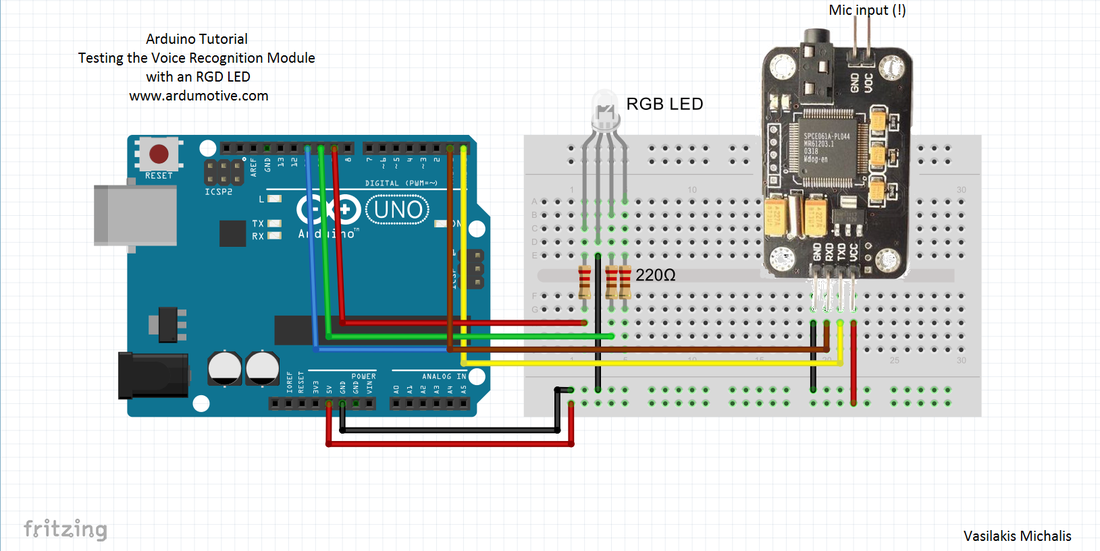
The connections are pretty easy, see the above image with the breadboard circuit schematic.
Note: Module RX - Arduino TX and Module TX - Arduino RX
Here's the code
*********************************************************************************
int redPin = 9; // R petal on RGB LED module connected to digital pin 11
int greenPin = 10; // G petal on RGB LED module connected to digital pin 9
int bluePin = 11; // B petal on RGB LED module connected to digital pin 10
byte com = 0; //reply from voice recognition
void setup()
{
Serial.begin(9600);
pinMode(redPin, OUTPUT); // sets the redPin to be an output
pinMode(greenPin, OUTPUT); // sets the greenPin to be an output
pinMode(bluePin, OUTPUT); // sets the bluePin to be an output
delay(2000);
Serial.write(0xAA);
Serial.write(0x37);
delay(1000);
Serial.write(0xAA);
Serial.write(0x21);
color(255,255,255); // turn RGB LED on -- white
delay(5000);
}
void loop() // run over and over again
{
while(Serial.available())
{
com = Serial.read();
switch(com)
{
case 0x11:
color(255,255,255); // turn RGB LED on -- white
break;
case 0x12:
color(255, 0, 0); // turn the RGB LED red
break;
case 0x13:
color(0,255, 0); // turn the RGB LED green
break;
case 0x14:
color(0, 0, 255); // turn the RGB LED blue
break;
case 0x15:
color(0,0,0); // turn the RGB LED off
break;
}
}
}
void color (unsigned char red, unsigned char green, unsigned char blue) // the color generating function
{
analogWrite(redPin, red*102/255);
analogWrite(bluePin, blue*173/255);
analogWrite(greenPin, green*173/255);
}
*********************************************************************************
Well done!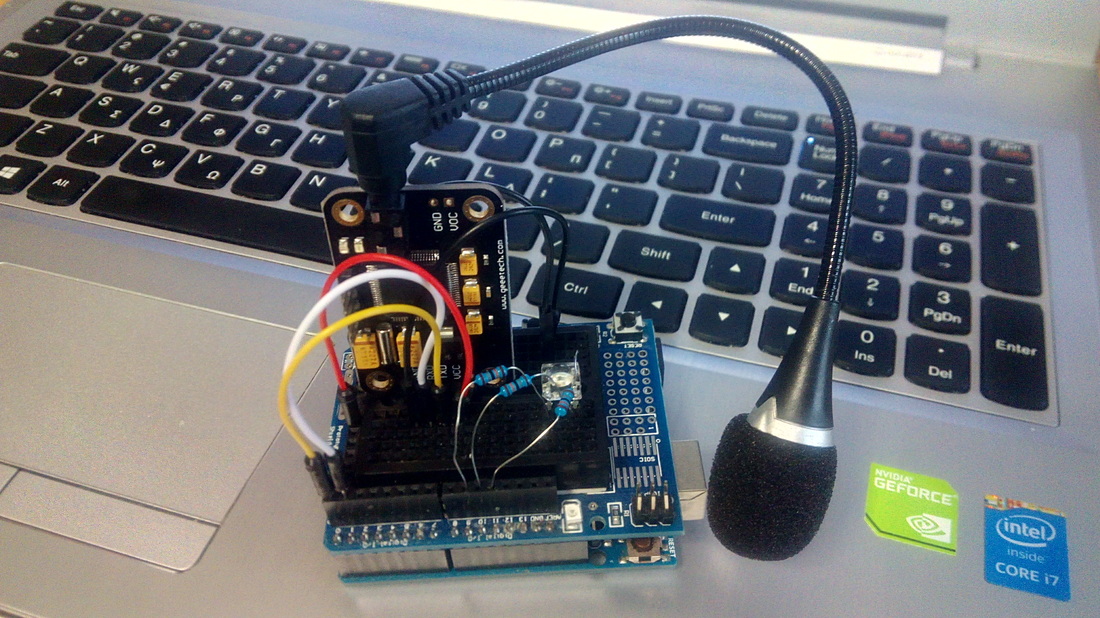
You have successfully completed one more "How to" tutorial and you learned how to use the voice recognition module. What next? Try to add more voice commands!
I hope you liked this, let me know in the comments. |

Comments
Post a Comment