How to Blink an LED
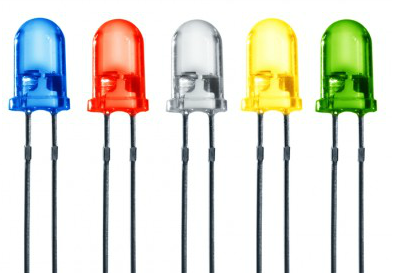
LEDs (Light-emitting diode) can be found on many collors and sizes.
This example shows the simplest thing you can do with an Arduino to see physical output: it blinks an LED!In this tutorial you will also learn how to use pinMode(), digitalWrite() and delay() functions.
If you're new to Arduino this tutorial will help you get started and make your first Arduino project!
|
What you will need - Hardware
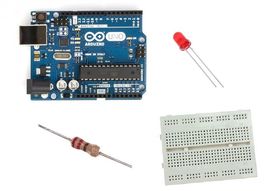
For this tutorial you will need:
If you would like you can also use breadboard shield for arduino uno. The Circuit
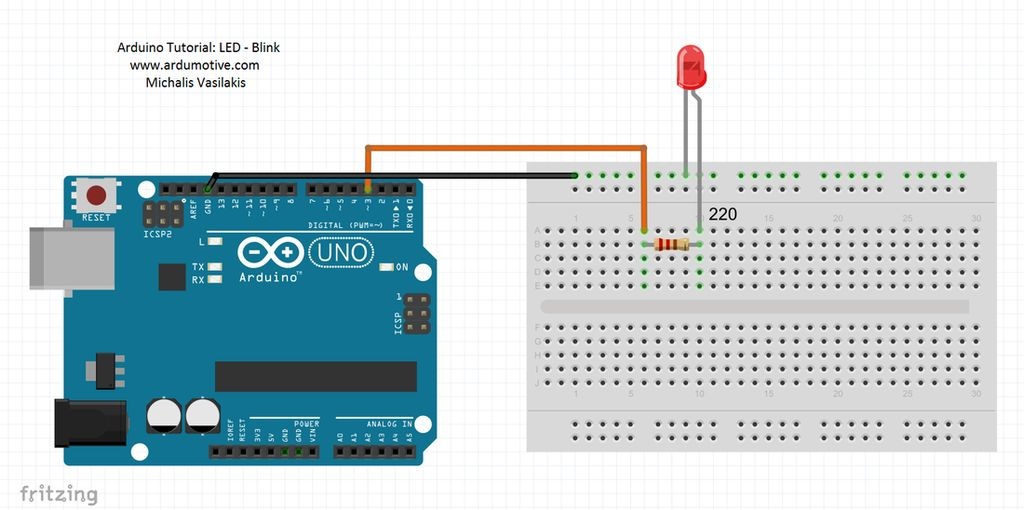
The connections are pretty easy, see the image above with breadboard circuit schematic.
|
The code
***************************************************************
//Constants
const int ledPin = 3;
void setup() {
//Initialize the digital pin as an output with pinMode()
pinMode(ledPin, OUTPUT);
}
void loop() {
digitalWrite(ledPin, HIGH); // turn the LED on (HIGH is the voltage level)
delay(3000); // wait for 3 seconds
digitalWrite(ledPin, LOW); // turn the LED off by making the voltage LOW
delay(3000); // wait for 3 seconds
}
***************************************************************
Note ::
Keep in mind that setup( ) routine runs only once after power on / re-program or press the reset button. In the program below, the first thing you do is to initialize pin 3 as an output pin with pinMode( ) function in setup( ) routine.
The loop( ) routine runs over and over again, forever. In the main loop, you turn on or off LED with digitalWrite( ) function and "pause" the program for three seconds with delay( ) function. (3 sec are 3000 ms)
The loop( ) routine runs over and over again, forever. In the main loop, you turn on or off LED with digitalWrite( ) function and "pause" the program for three seconds with delay( ) function. (3 sec are 3000 ms)
Well done!
You have successfully completed our first Arduino "How to" tutorial and you learned how to use:
I hope you liked this, let me know in the comments.
Welcome to the Arduino world!
I hope you liked this, let me know in the comments.
Welcome to the Arduino world!


Comments
Post a Comment