Arduino – Temperature Displayed on 4 Digit 7 segment (common anode)
Arduino – Temperature Displayed on 4 Digit 7 segment (common anode)
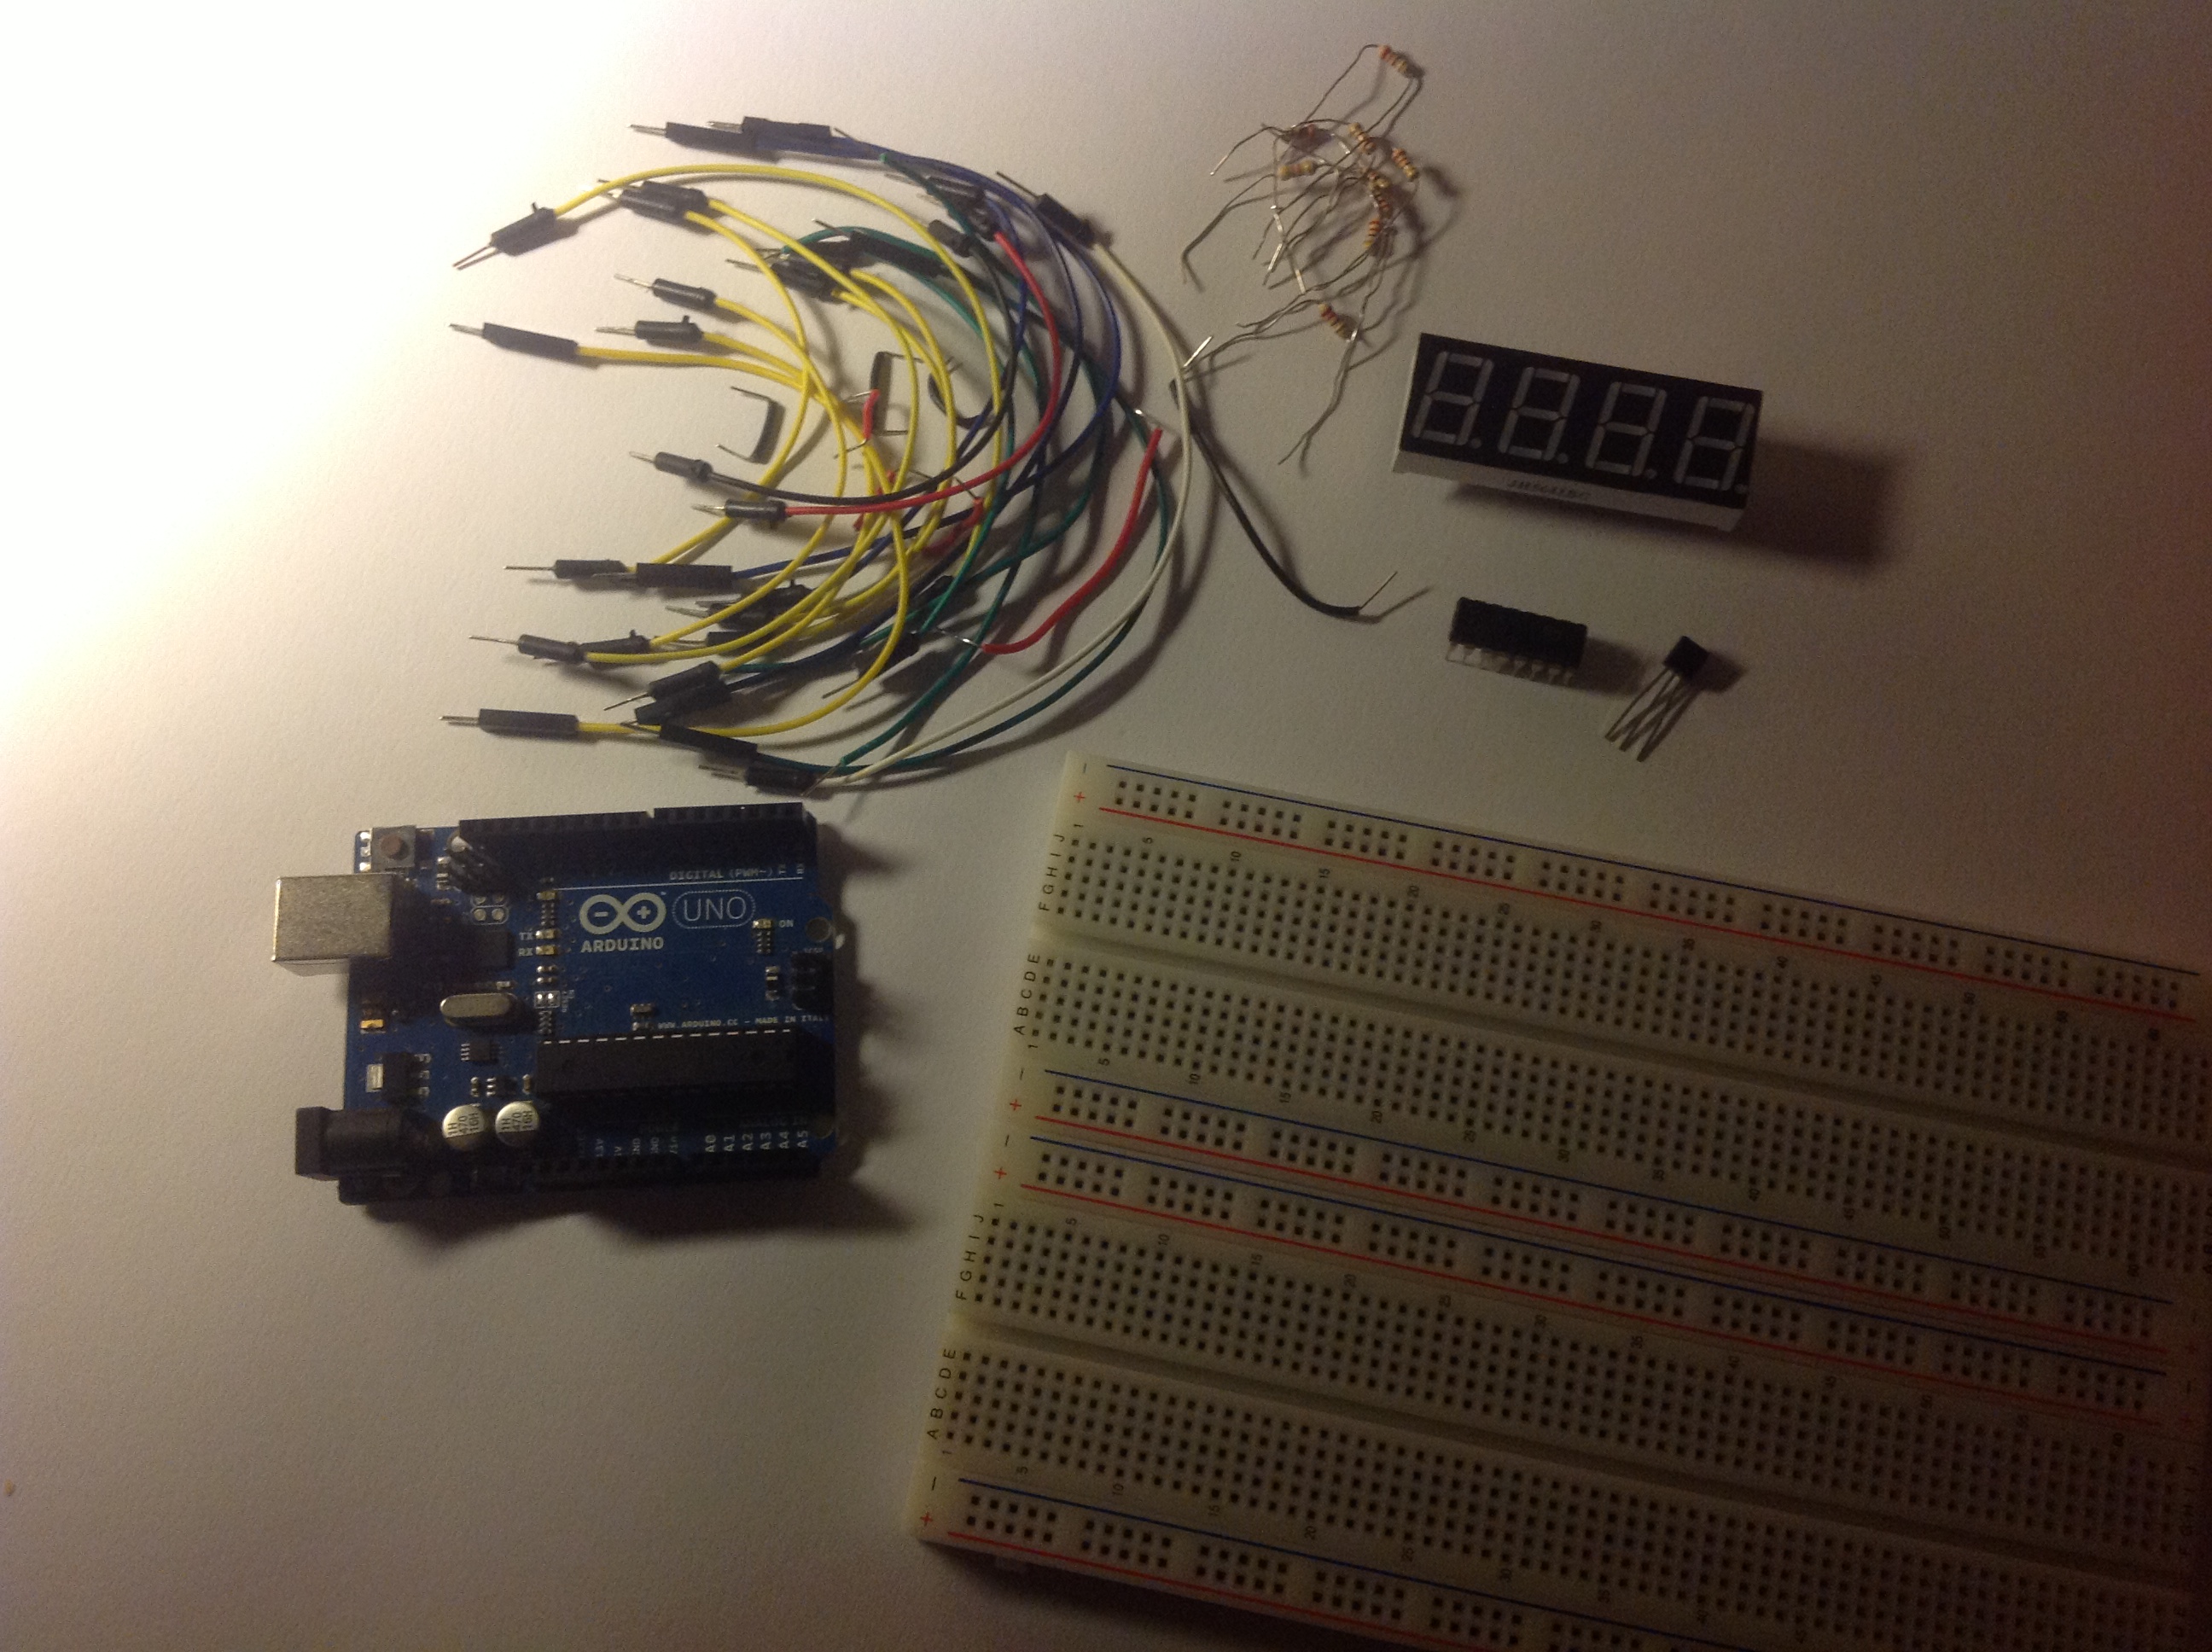
In this project I’ll display the temperature in a 4 digit 7 segment display (common anode).
The sensor is the cheapest you can find so actually the temperature changes pretty easily which makes the display to show always different temperatures.

This project is great to learn more about:
- Reading sensors (in this case temperature)
- 7 segment displays (4 digit 7 segment displays)
- 8 bit Shift Registers (74HC595)
- Pratice wiring

SCHEMATICS

This can also help you wiring because the Schematics I’ve made using fritizing turned out a bit confusing. This is the 7 segment display internal circuit diagram


Basically the pin 11 connects to the QA, the pin 7 to the QB and so one…
UPLOAD THE CODE BELOW
/*
 * Temperature Sensor Displayed on 4 Digit 7 segment common anode
*/

const int digitPins[4] = {
  4,5,6,7};                 //4 common anode pins of the display
const int clockPin = 11;    //74HC595 Pin 11
const int latchPin = 12;    //74HC595 Pin 12
const int dataPin = 13;     //74HC595 Pin 14
const int tempPin = A0;     //temperature sensor pin
const byte digit[10] =      //seven segment digits in bits
{
  B00111111, //0
  B00000110, //1
  B01011011, //2
  B01001111, //3
  B01100110, //4
  B01101101, //5
  B01111101, //6
  B00000111, //7
  B01111111, //8
  B01101111  //9
};
int digitBuffer[4] = {
  0};
int digitScan = 0, flag=0,  soft_scaler = 0;
;
float tempK, tempC, tempF, temp;

void setup(){
  for(int i=0;i<4;i++)
  {
    pinMode(digitPins[i],OUTPUT);
  }
  pinMode(tempPin, INPUT);
  pinMode(latchPin, OUTPUT);
  pinMode(clockPin, OUTPUT);
  pinMode(dataPin, OUTPUT);
  pinMode(tempPin, INPUT);
}

//writes the temperature on display
void updateDisp(){
  for(byte j=0; j<4; j++)
    digitalWrite(digitPins[j], LOW);

  digitalWrite(latchPin, LOW);
  shiftOut(dataPin, clockPin, MSBFIRST, B11111111);
  digitalWrite(latchPin, HIGH);

  delayMicroseconds(100);
  digitalWrite(digitPins[digitScan], HIGH);

  digitalWrite(latchPin, LOW);
  if(digitScan==2)
    shiftOut(dataPin, clockPin, MSBFIRST, ~(digit[digitBuffer[digitScan]] | B10000000)); //print the decimal point on the 3rd digit
  else
    shiftOut(dataPin, clockPin, MSBFIRST, ~digit[digitBuffer[digitScan]]);

  digitalWrite(latchPin, HIGH);
  digitScan++;
  if(digitScan>3) digitScan=0;
}

void loop(){
  tempK = (((analogRead(tempPin)/ 1023.0) * 5.0) * 100.0);
  //Converts Kelvin to Celsius minus 2.5 degrees error
  tempC = tempK - 273.0;
  tempF = ((tempK - 2.5) * 9 / 5) - 459.67;
  //Celsius temperature display
  tempC = int(tempC*100);
  digitBuffer[3] = int(tempC)/1000;
  digitBuffer[2] = (int(tempC)%1000)/100;
  digitBuffer[1] = (int(tempC)%100)/10;
  digitBuffer[0] = (int(tempC)%100)%10;
  updateDisp();
  delay(2);

  /*
  //Fahrenheit temperature display
  tempF = int(tempF*100);
  digitBuffer[3] = int(tempF)/1000;
  digitBuffer[2] = (int(tempF)%1000)/100;
  digitBuffer[1] = (int(tempF)%100)/10;
  digitBuffer[0] = (int(tempF)%100)%10;
  updateDisp();
  delay(2);
  */
}
Thanks for reading, you can contact me by leaving a comment. If you like this post probably you might like my next ones
Comments
Post a Comment